Preface
STM32 has became a quite popular microcontroller in the recent years, for its low power, high performance, and relatively low cost. I personally started using STM32 in 2011. As I really love all kinds of different screens, so of course I have been using STM32 to drive these screens. This post is one of them.
This time I will be looking at STM32F429/F439 series microcontroller, which supports SDRAM and has internal LCD controller. Other than the SDRAM and LCD controller, it also a 2D acceleration unit, called as Chrom-Art Accelerator™. I searched online, while there are lot of tutroials and notes about peripherals, I didn't find anything for the 2D acceleration. So I am going to take a look at that this time.
Introduction
First of all, Chrom-Art Accelerator™ is also called as DMA2D. It implies it's really just an enhanced DMA. DMA as we know, is a memory copier. Then the DMA2D, allows some simple image related processing during the coping process. There are 4 possible functions:
- Solid color filling
- Image copying
- Pixel format conversion
- Alpha blending
The first 2 are doable with just normal DMA, correspond to the register to memory (R2M) and memory to memory (M2M) transfer. The pixel format conversion would do the, obviously, conversion during the copying. For example, in RGB565, the red is 0xF700, and in ARGB8888, red is 0xFFFF0000, so if I use the following pseudo-code:
unsigned char Src[2] = {0x00, 0xF7};//Little-endian
unsigned char Dst[4] = {0x00, 0x00, 0x00, 0x00};
DMA2D.SrcColorMode = RGB565;
DMA2D.SrcAddress = Src;
DMA2D.DstColorMode = RGB888;
DMA2D.DstAddress = Dst;
DMA2D.Length = 1;
DMA2D.StartColorModeConvertion();
Then the Dst should have {0x00, 0x00, 0xFF, 0xFF} after finish. I will talk about alpha blending in details later.
Experiments
Solid filling
This is the easiest, so I am trying it first. Make sure SDRAM and LCDC are initialized and correct correctly. The following code are based on STM32F4xx_HAL_Driver library (Not the STM32F4xx_StdPeriph_Driver any more).
static void LL_FillBuffer(uint32_t LayerIndex, void *pDst, uint32_t xSize, uint32_t ySize, uint32_t OffLine, uint32_t ColorIndex)
{
  hdma2d.Init.Mode         = DMA2D_R2M;
  hdma2d.Init.ColorMode    = DMA2D_ARGB8888;
  hdma2d.Init.OutputOffset = OffLine;

  hdma2d.Instance = DMA2D;

  /* DMA2D Initialization */
  if(HAL_DMA2D_Init(&hdma2d) == HAL_OK)
  {
    if(HAL_DMA2D_ConfigLayer(&hdma2d, LayerIndex) == HAL_OK)
    {
      if (HAL_DMA2D_Start(&hdma2d, ColorIndex, (uint32_t)pDst, xSize, ySize) == HAL_OK)
      {
        /* Polling For DMA transfer */
        HAL_DMA2D_PollForTransfer(&hdma2d, 10);
      }
    }
  }
}
BMP display
Solid color is boring, so the next target is image display. It would utilize the 2nd or 3rd mode of the DMA2D. And that's quite simple as well. First, the function for display just one line:
static void LL_ConvertLineToARGB8888(void *pSrc, void *pDst, uint32_t xSize, uint32_t ColorMode)
{
  /* Configure the DMA2D Mode, Color Mode and output offset */
  hdma2d.Init.Mode         = DMA2D_M2M_PFC;
  hdma2d.Init.ColorMode    = DMA2D_ARGB8888;
  hdma2d.Init.OutputOffset = 0;

  /* Foreground Configuration */
  hdma2d.LayerCfg[1].AlphaMode = DMA2D_NO_MODIF_ALPHA;
  hdma2d.LayerCfg[1].InputAlpha = 0xFF;
  hdma2d.LayerCfg[1].InputColorMode = ColorMode;
  hdma2d.LayerCfg[1].InputOffset = 0;

  hdma2d.Instance = DMA2D;

  /* DMA2D Initialization */
  if(HAL_DMA2D_Init(&hdma2d) == HAL_OK)
  {
    if(HAL_DMA2D_ConfigLayer(&hdma2d, 1) == HAL_OK)
    {
      if (HAL_DMA2D_Start(&hdma2d, (uint32_t)pSrc, (uint32_t)pDst, xSize, 1) == HAL_OK)
      {
        /* Polling For DMA transfer */
        HAL_DMA2D_PollForTransfer(&hdma2d, 10);
      }
    }
  }
}
The code should be self-explainatory. There is a new LayerCfg, for configuring the layers. From the block diagram, DMA2D supports 2 inputs and 1 output:
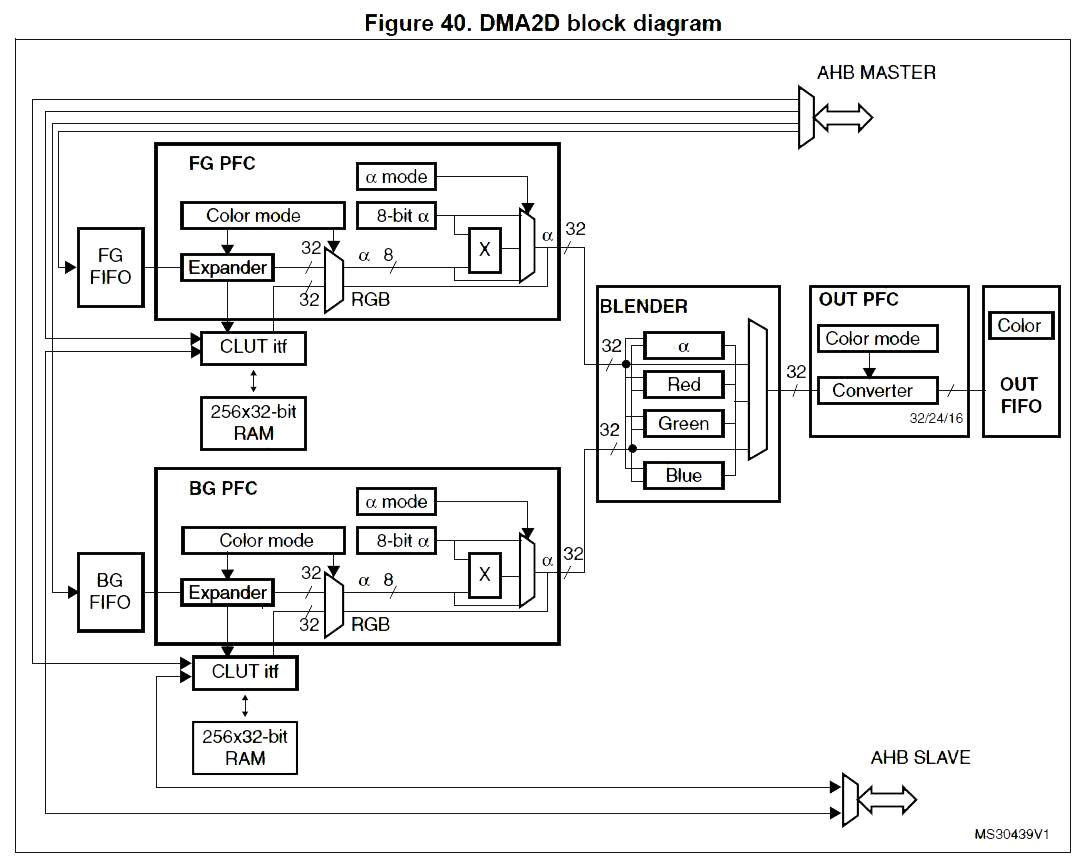
In the first example, only output and 1 input register are used. Here as image input is needed, 1 input module is used. The LayerCfg configures the input module.
With the code for displaying 1 line, then displaying the entire image should be straightforward.
void BSP_LCD_DrawBitmap(uint32_t Xpos, uint32_t Ypos, uint8_t *pbmp)
{
  uint32_t index = 0, width = 0, height = 0, bit_pixel = 0;
  uint32_t Address;
  uint32_t InputColorMode = 0;

  /* Get bitmap data address offset */
  index = *(__IO uint16_t *) (pbmp + 10);
  index |= (*(__IO uint16_t *) (pbmp + 12)) << 16;

  /* Read bitmap width */
  width = *(uint16_t *) (pbmp + 18);
  width |= (*(uint16_t *) (pbmp + 20)) << 16;

  /* Read bitmap height */
  height = *(uint16_t *) (pbmp + 22);
  height |= (*(uint16_t *) (pbmp + 24)) << 16;

  /* Read bit/pixel */
  bit_pixel = *(uint16_t *) (pbmp + 28);

  /* Set the address */
  Address = hltdc.LayerCfg[ActiveLayer].FBStartAdress + (((BSP_LCD_GetXSize()*Ypos) + Xpos)*(4));

  /* Get the layer pixel format */
  if (bit_pixel == 32)
  {
    InputColorMode = CM_ARGB8888;
  }
  else
  if (bit_pixel == 16)
  {
    InputColorMode = CM_RGB565;
  }
  else
  {
    InputColorMode = CM_RGB888;
  }

  /* Bypass the bitmap header */
  pbmp += (index + (width * (height - 1) * (bit_pixel/8)));

  /* Convert picture to ARGB8888 pixel format */
  for(index=0; index < height; index++)
  {
    /* Pixel format conversion */
    LL_ConvertLineToARGB8888((uint32_t *)pbmp, (uint32_t *)Address, width, InputColorMode);

    /* Increment the source and destination buffers */
    Address+=  (BSP_LCD_GetXSize()*4);
    pbmp -= width*(bit_pixel/8);
  }
}
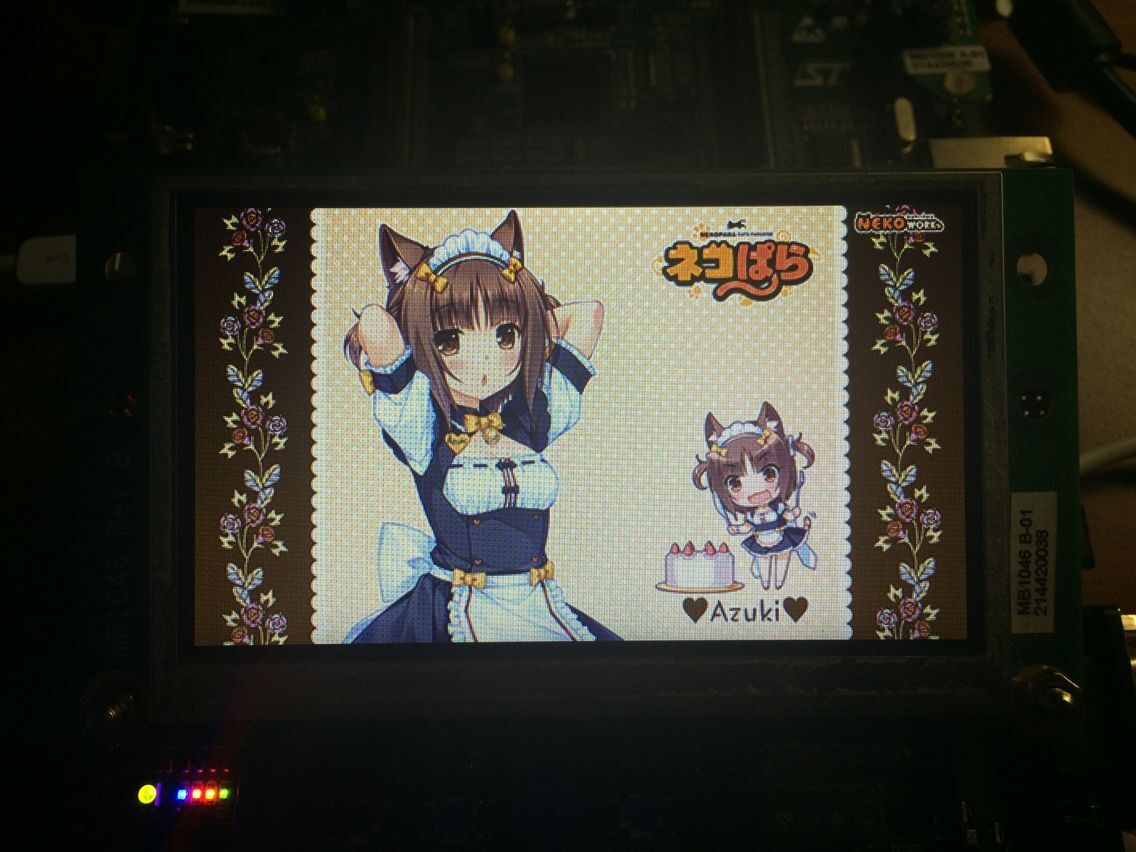
And here are the result. Note that PS by default saves as XRGB1555 for BMP. Remember to choose RGB565 manually.
Alpha blending
Alpha blending is for layer composition. The LCD controller (LTDC) inside STM32F429 already has 2 hardware layers, but that's typically just for cursors, all the UI elements are usually pre-mixed into one of the hardware layer.
Now get to the experiment. I would need a image for blending on to the background. So I made a simple image with alpha channel.
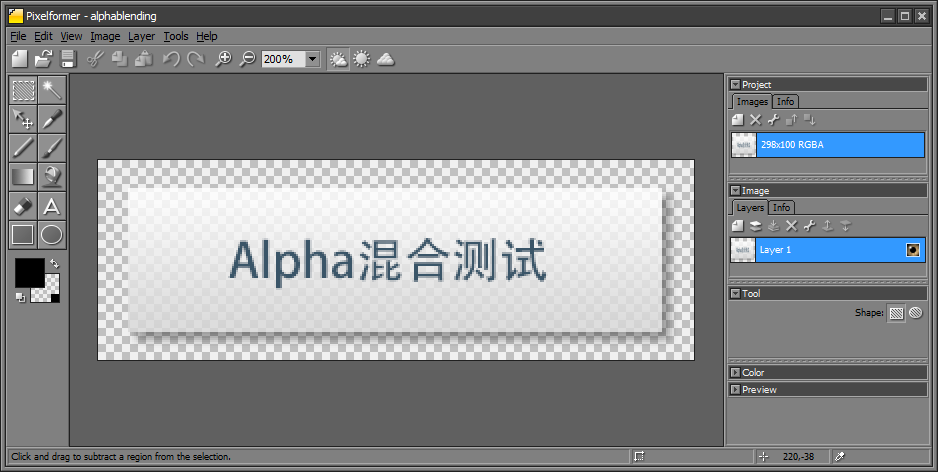
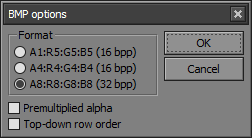
As PS doesn't allow ARGB8888 exporting, so export as PNG then use the PixelFormater to convert to BMP.
Convert the image into array and modify the code based on the BMP exmple:
static void LL_BlendLine(void *pSrc, void *pDst, uint32_t xSize)
{
  /* Configure the DMA2D Mode, Color Mode and output offset */
  hdma2d.Init.Mode         = DMA2D_M2M_BLEND;
  hdma2d.Init.ColorMode    = DMA2D_ARGB8888;
  hdma2d.Init.OutputOffset = 0;

  /* Foreground Configuration */
  hdma2d.LayerCfg[1].AlphaMode = DMA2D_NO_MODIF_ALPHA;
  hdma2d.LayerCfg[1].InputAlpha = 0xD0;
  hdma2d.LayerCfg[1].InputColorMode = CM_ARGB8888;
  hdma2d.LayerCfg[1].InputOffset = 0;

  /* Background Configuration */
  hdma2d.LayerCfg[0].AlphaMode = DMA2D_REPLACE_ALPHA;
  hdma2d.LayerCfg[0].InputAlpha = 0xFF;
  hdma2d.LayerCfg[0].InputColorMode = CM_ARGB8888;
  hdma2d.LayerCfg[0].InputOffset = 0x0;

  hdma2d.Instance = DMA2D;

  /* DMA2D Initialization */
  if(HAL_DMA2D_Init(&hdma2d) == HAL_OK)
  {
    HAL_DMA2D_ConfigLayer(&hdma2d, 0);
    HAL_DMA2D_ConfigLayer(&hdma2d, 1);
    if(HAL_DMA2D_BlendingStart(&hdma2d, (uint32_t)pSrc, (uint32_t)pDst, (uint32_t)pDst, xSize, 1) == HAL_OK)
    {
      /* Polling For DMA transfer */
      HAL_DMA2D_PollForTransfer(&hdma2d, 10);
    }
  }
}
Basically just enable the 2nd input, and I set the input to be the same as output, so the final image replaces the original image. Note that DMA2D needs the image data to be naturally aligned. The BMP header might cause some issues.
Results:
